Friday, 16 June 2023

An O gauge Pub and a start on the dairy buildings

Recently I have decided to finish off a number of projects that were started a while ago, but have subsequently sat around. I am hoping that over summer I can get the layout set up properly and finally finish the ballasting, add in the backscene and do a lot of the detailing projects, i.e. have a usable model railway. Right now, the O gauge layout has stalled somewhat, after moving house and having to install a new kitchen/diner, etc.  When I finally get around to setting up the layout, I want to be able to add in some of the buildings and then move relatively quickly into adding small details/scenery around the layout.  So to be able to do that I need to get cracking with finishing off some of the buildings.


Finally finished the pub - now I just need to set it within a 'scene' on the layout.

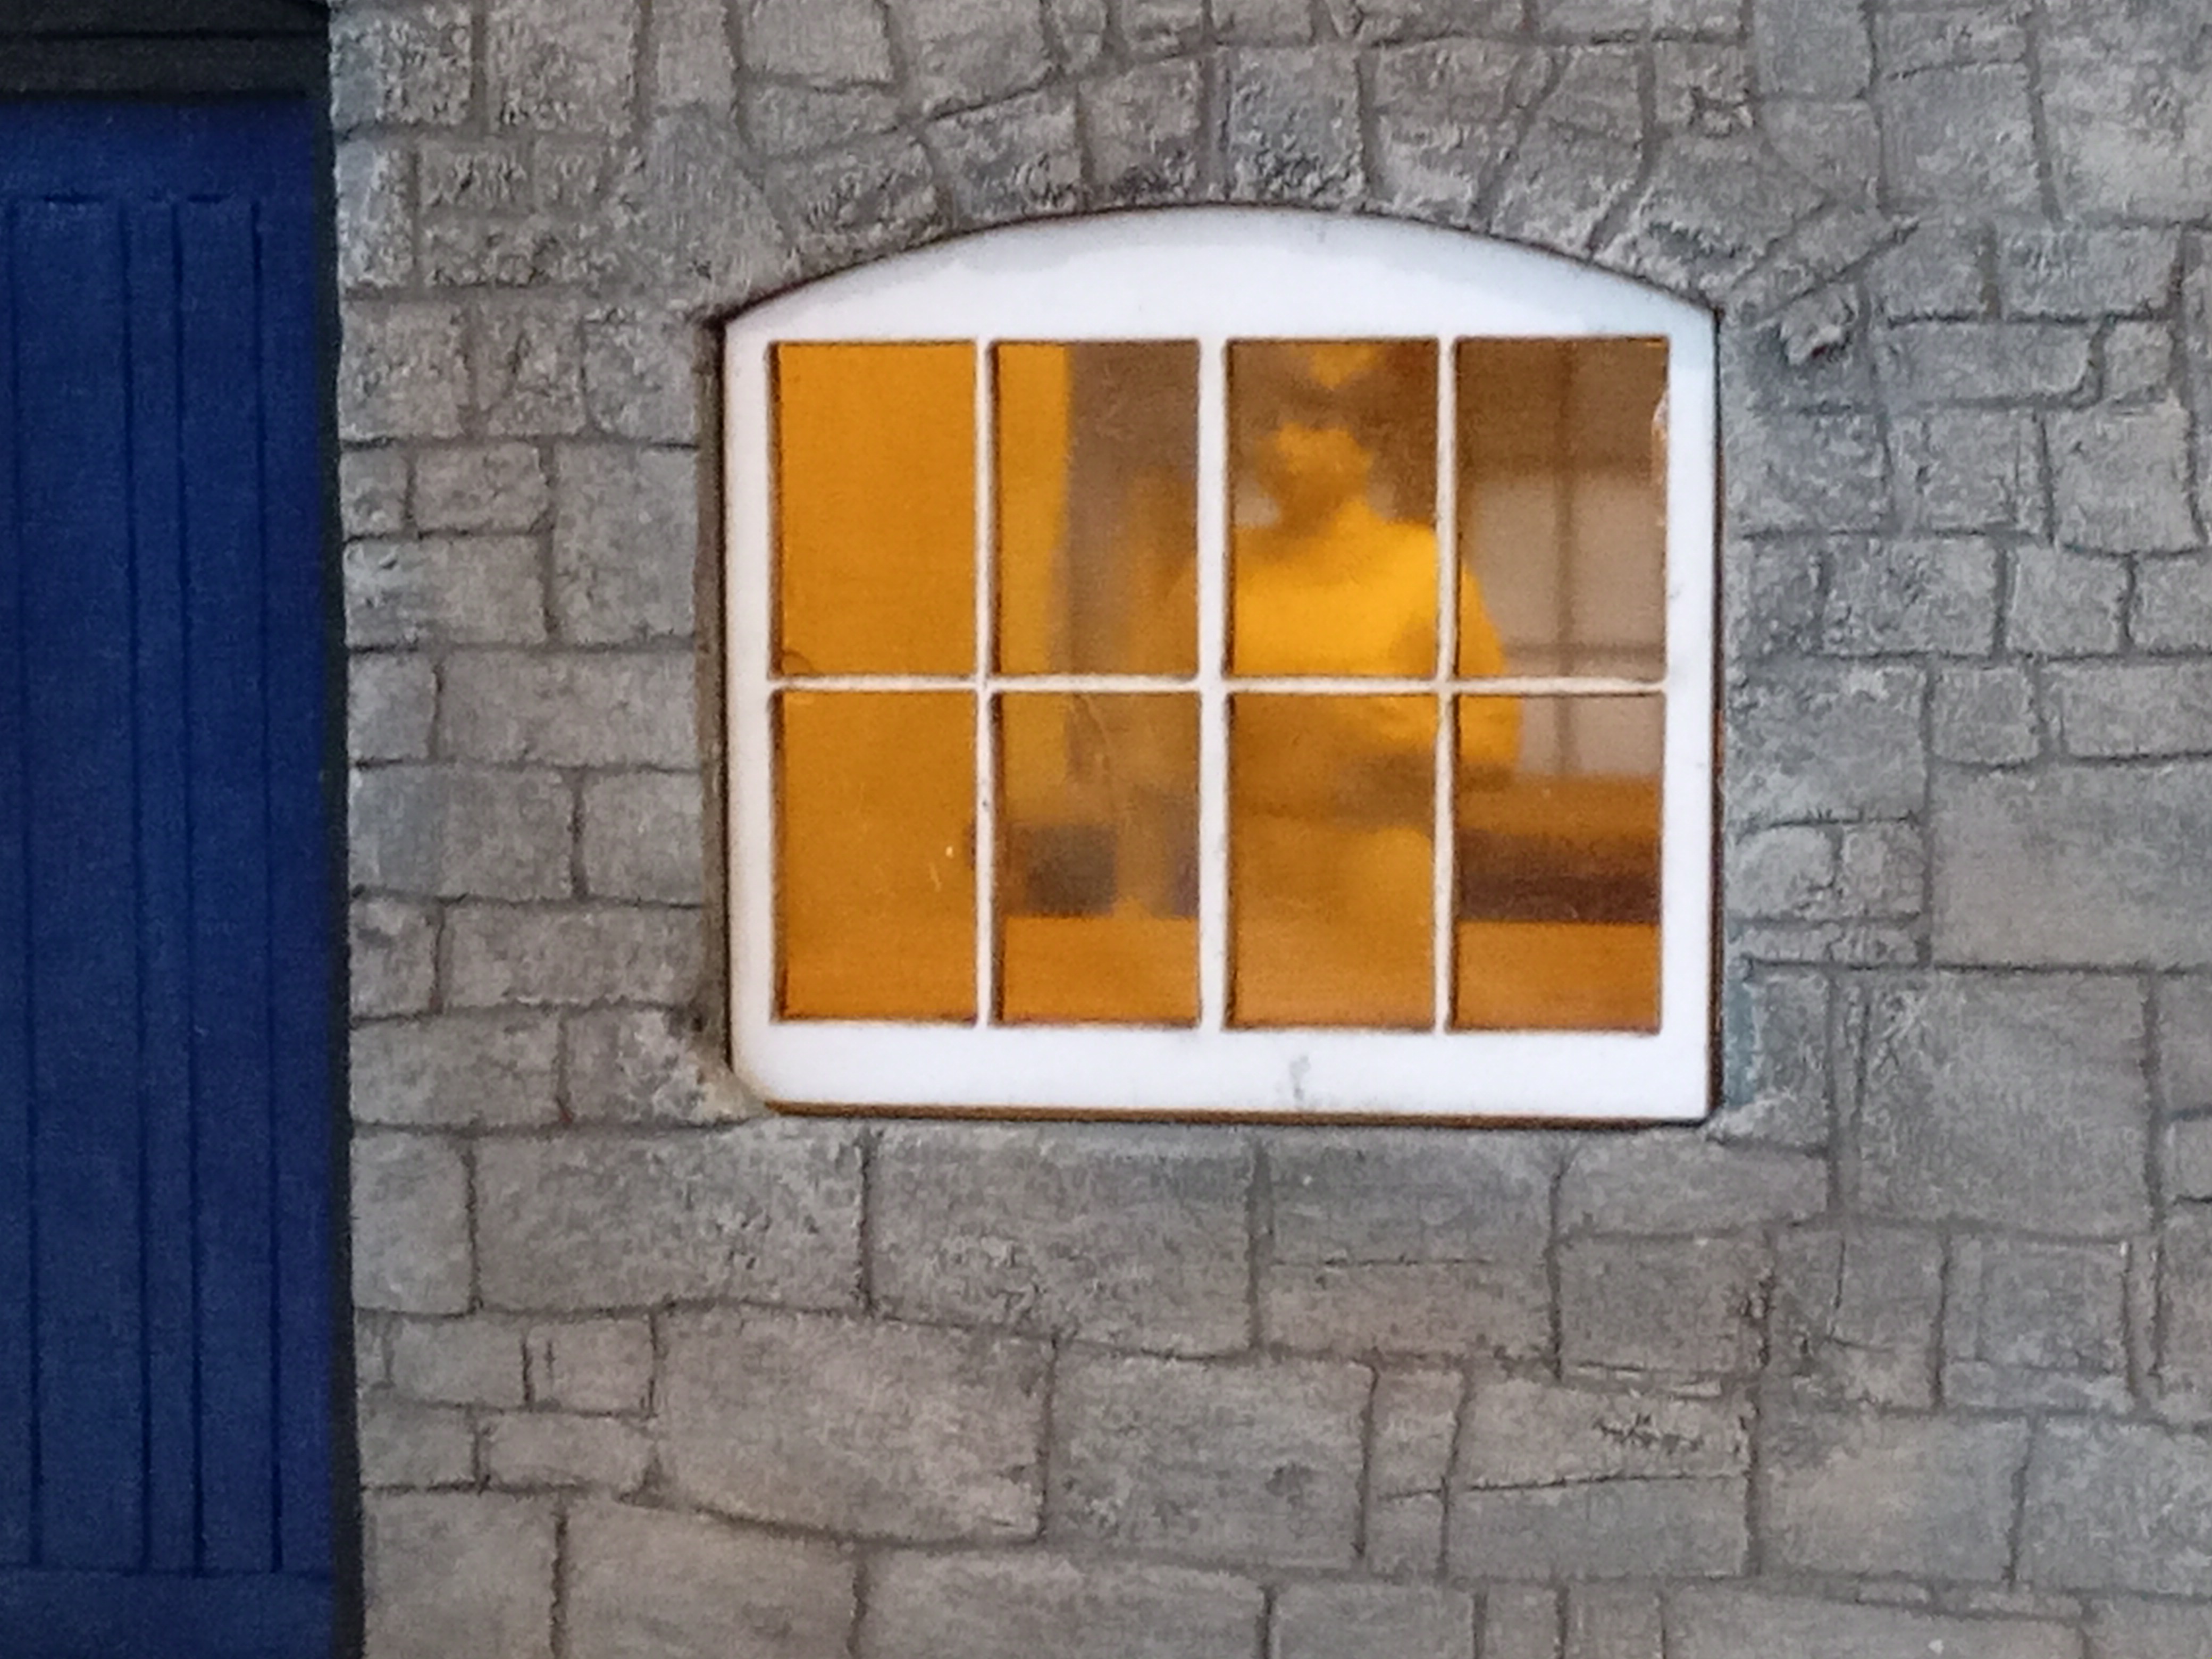
The pub has been an ongoing project, having been close to finished for a while. Some final bits and bobs needed to be added, such as a few piece of guttering and a bit of painting here and there. The basis for the model is a Petite Properties kit and this was first my attempt at producing a model building like this. I have learnt quite a bit from doing it, especially that sanding down Polyfilla goes everywhere! However, it has turned out OK and I can see how I can improve the overall finish on subsequent models. I have installed some lights in the pub and it has a fitted interior. Modelling in O gauge does provide the opportunity to install lights/interiors as features of model buildings and quite a few of the buildings will have lighting installed.


The pub has working lights and the local landlady visible. She is well known to the locals......

With the pub finished I am now detailing one of the dairy buildings and make a proper start on painting the Quay masters cottage. After this I have the second dairy building to do, that will sit on the top of the dairy platform at the end of the layout. If I can get these bits knocked off in the next few weeks then I can really make a start with some of the basic detailing elements over the summer (once the kitchen has been installed anyhow!). The other big job, is to sort out a tunnel exit - I have now purchased two tunnel kits and neither of them fit the bill, so I am just going to have a go at scratch building something - fingers crossed. I need something smaller for the end of the layout - as the purchased tunnels are just too wide. The other thing I am planning to do relatively soon is install the water scene on the quay - I am going to buy some AK interactive water gel and give this a try - although I plan to do some experimenting first.....

Friday, 2 June 2023

Another O gauge wagon - Slaters 12T standard van

Who knows where the time has gone in the last few months - life has been really busy and modelling time has been somewhat limited. The little modelling time I have had, has been spent building some wagons very slowly in the evenings and the odd spray painting session with the airbrush. I currently have a couple of wagons nearly built in O and OO gauge, and a couple of O gauge wagons nearing completion in the paint box.  My biggest challenge right now is to focus on the finishing of some ongoing projects on the O gauge layout, particularly some rolling stock, alongside finishing off some of the basic scenery detailing and buildings. I have far too many projects half finished and I would like to move at least some of these to the finished pile.

One project that has been ticked off and is now finished is a Slaters 12T box van. My first Slaters kit took me about 6 years to get around to finishing. This 12T van was the second one I did, started in 2020, so a mere 3 years later it is finished. Undoubtedly, I have now become more used to Slaters kits and can get a really good build from them - they are great kits, but they do require a bit of time and patience. This van was painted with Railmatch paints via the airbrush and had Railtec transfers applied. All good and another one finished for the layout. The next one of these I do, I will be a little more adventurous with the painting of the body, adding some in some different coloured planking, however for now this finish is fine.


Finished 12T standard van - the rolling stock for the layout is slowly getting built......

The layout has made slow (non) progress in recent months, with only a little ballasting being finished. I am still mulling over the tunnel exit and likewise the landscaping at the end of the layout. This all needs a little more thinking about, so next steps are to finish the ballasting nd get the tunnel mouth and embankment at the end of the layout sorted. Once this is done, I can get the backscene in and really start cracking on with the detailing.

Wednesday, 19 April 2023

Heljan O gauge class 25 - dcc sound - nearing completion

This week I managed to sit down and tackle the install of the class 25 ESU Loksound XL decoder into the class 25. This locomotive has been sat in the paint boxes since last summer, but over the last couple of months I have made a concerted effort to move this model towards completion. One of the big stumbling blocks was the fitting of the DCC sound chip - in OO gauge this is the most simple of tasks - take off the backing plate and put the new chip in - solder up a speaker and you are good to go. In O gauge this was a slightly more daunting task.

The factory finished bodyshell - note the end glazing is out - but the side glazing has been left in. I could not get the side glazing out without damaging the body shell.

The class 25 from Heljan has come in for loads of criticism on internet forums - mainly to do with a perceived error in the cab end.  When I got my version (about 6 years ago now) I was worried that the model was inaccurate (O gauge locomotives are not cheap!) - however, since taking it all apart I think it is a cracking model.  A bit of detailing on the body and the model really comes to life.  So progress so far has been to spray and then varnish the body shell - this weathering was applied on top of the BR blue factory finish, using streaks of faded blue, before building up the weathering coats. I found the glazing a nightmare to get out, so I ended up leaving some of it in place - however before I finished varnishing I removed the masking from the glazing - to blend the model together. This was a big mistake, as the glazing reacted with the thinners in the varnish and clouded over - I have tried to correct this with a little acrylic varnish, which has been partially successful - I guess it is all learning! The glazing now looks OK - although the original glue used by Heljan for the glazing is noticeable on the factory finished model (see above). Likewise, the underframe had the bogies removed and was weathered separately to the bogies before reassembly.

Weathered body shell - note the streaks of faded BR blue - it is all finished with a satin varnish. Also note the clouded windows after reacting with the thinners in the varnish - this has now been partially cured.

The finished underframe, prior to the DCC chip install.

With the body only now needing the final reassembly (a job for later this week/next week) I managed to fit the DCC sound chip yesterday. Not knowing what I was doing meant that it was quite a long job. In the end through it all works - I wired in the track feeds and the motor connections first. After this I added the headlights to the front light / rear light terminals, whilst putting the tail lights on the Aux1 and Aux2.  All the lights on the Heljan locomotive work through a common positive and these were all wired through U+, via a 10KOhm resistor. It took some time to get it done - whilst watching some You Tube tutorials (thank god for Hither Green!) - as I had to work out quite what I was doing alongside testing it as I went. Of course the biggest concern was getting it wrong the blowing the chip up - luckily this did not happen!! 

Wired up DCC chip - with the common positive U+ resistor feed yet to be placed in its terminal. The track feeds and motor are to the left of the chip, whilst the lights and Aux functions are on the right.

So jobs for this week are to reassemble the body shell by adding in the glazing, put the roof fan back (it is now non motorised), put on the headcodes (Railtec) and then finally reattach to the chassis. The underframe needs the DCC chip secured alongside making a small plasticard cradle for the speaker, which will then be glued to the chassis block. Fingers crossed that it should not take too long to achieve this and then hopefully I will have finished my first O gauge locomotive.  Lots of lessons learnt about how to handle O gauge locomotives whilst weathering them, removing glazing, masking, installing the DCC chip after removing the PCB board - so hopefully this will stand me in good stead fr future projects.

And it all works (somehow!!!!!!)

Friday, 7 April 2023

An O gauge Heljan catfish wagon and some other bits and bobs!

We are still bedding into the new place, with plenty of work to do on the house. However, the really crazy time of moving and unpacking has largely subsided and I have had more free time to model in the evenings. I have also had the airbrush up and running and managed to do some painting - this has certainly helped gain some momentum with a few projects. Having taken stock of what projects I currently have on the go, I decided I really needed to focus on a few projects t get them over the line. So this weekend is going to be dedicated to finishing a few items of rolling stock and buildings for the O gauge layout, which I can hopefully set up next weekend for some detailing.

Weathered catfish wagon ready for the layout.

So the first project I finished this week is some pretty standard weathering of a Heljan catfish wagon. This wagon is in olive green livery and served as a test bed for weathering/detailing rtr stock in O gauge, alongside the Dapol fruit van I recently finished. The weathering was pretty simply applied, being two shades of rust, followed by various shades of sleeper grime, weathered black and frame dirt, etc. It was all done via an airbrush using Railmatch enamels.  I feel reasonably happy with it, although the final finish could have been further developed, such as fading out the olive livery, etc. I have another Heljan dogfish to weather soon, and have ordered a sealion wagon and shark brake van - so the engineering O gauge train is slowly taking shape. There are some other wagons to add to this mix, such as a lowmac, various spoil wagons and probably another dogfish, but these kits are yet to be purchased or built!

Other end of the finished catfish wagon.

Other projects in the paint box include a nearly finished class 25 - which just needs two more coats of varnish and then it is ready for reassembly/dcc fitting, plus a 12t box van ready for transfers. So hopefully there are a couple of other projects I can finish over the weekend. On the modelling desk is a partially constructed Slaters lowfit wagon and I have made a very slow start on the first of the O gauge milk tankers, which I am really looking forward to constructing. Finally the O gauge buildings of the pub, dairy office and quay masters cottage really need to be finished off, so this week I am going to spend some time on getting them done to. Plenty to be getting on with anyhow and a little bit of free time to spend on these projects!

Partially constructed Slaters lowfit wagon.

Sunday, 26 March 2023

Slaters O Gauge Conflat

Well the last few years have been pretty hectic with moving around - we have moved again and it is our 3rd home in 3 years. However - the best news is - this is our forever home - or at least our very, very long term home. The bad news about this move is that - my time has been sucked away into house repairs almost continually! This has left little time for modelling. The other very bad news about the house move from a modelling perspective, is that although I have lots of opportunity for a modelling room - I do not currently have a room where I can operate my layouts.  This is limiting layout progress, so I am currently focusing on building some wagons.

Built Conflat A ready for painting.


The latest off the workbench is a Slaters Conflat A wagon. This wagon has pretty terrible instructions - and the break gear is a nightmare to assemble, as shown in the picture instructions. I pretty much had to rebuild the wagon underframe part way through - which was a bit of pain, but finally it has been finished off. I am now building a Slaters Lowfit wagon and I am trying to assemble the brake gear first, before gluing the completed assembly to the wagon - I think this will work a lot better.


The completed underframe of the Conflat A wagon.

Alongside the Conflat A/Lowfit I have been tinkering with a Parkside Fruit D in OO gauge.  This will be onw of the final wagons to go in my engineering olive green train. It is interesting how small I am finding the OO gauge wagons now - they are tiny in comparison to the O gauge stuff. I think that once I have finished the detailing on Pottington Quay - I might solely focus on O gauge - as I am finding it a much more enjoyable scale to model in. However - I will keep the Pottington Quay layout for running trains in OO gage as I have previously finished off so many trains and kits! There has also been a little painting going on recently - the O gauge class 25 is nearly completion, amongst other projects - so some little slow, but steady progress.

Monday, 2 January 2023

Pottington Quay - the new layout and a modelling new year!

I hope everybody has had a fantastic xmas and I wish you all well for the new year.  Over the xmas period, alongside eating way to much and doing a lot of great walking, I have made a lot of progress on the Pottington Quay OO gauge layout, amongst other modelling projects.  

I initially spent some time building the curved baseboards that I ordered from Tim Horn last year (obviously they were awesome and went together like a dream). After this, I aligned the curved boards  to the pre-existing Pottington Quay scenic board and built a simple straight fiddle yard board (Tim Horn again).  I then laid and soldered the track down for a continuous run. This was a pretty simple wire up and three points have been installed on the fiddle yard and one on the scenic section.  These are now ready to lay down the track for the fiddle yard sidings and quay front, but I did not manage to get that far over the xmas holiday. What has been awesome was to plug in the NCE powercab and just run some trains on the loop - it is amazing how different it is to operate the trains on the continuous run instead of the terminus to fiddle yard as per the Charlton layout.  For a start - many of the trains had a much lower top speed than I anticipated. Secondly, the way you have to drive the trains is quite different, notching up and then easing the power off - all good fun - but it will take some time to learn how to operate it all properly.

Curved end of the coninuous run.

The main scenic board for Pottington Quay.

The class 45 speeds through Pottington Quay.

The full extent of the scenic board.....this might be extended.

Alongside building the OO gauge layout, I have paint stripped the O Gauge SPV and Dapol milk tanker (that is another blog post in its own right) and I also stripped the paint on an OO gauge CCT and PMV.  These are all now pretty cleaned up, partially rebuilt and are now ready for re-entering the paintshop.  The platform has also been rebuilt on Pottington Quay and likewise this now needs some repainting.

Class 45 leaving Pottington Quay.

Class 25 bringing in a passenger service.

Well it is dark, as a warship speeds through!

So at the start of January what does the modelling year hold for me?  Well initially we are about to move to our forever home early next month - this will be a real relief after several years of hopping around.  Once we are moved in there is a lot of decorating to do. This will take up a lot of time. However, after the initial burst of sorting out the house, I have a summer of modelling planned. I have an O gauge layout and an OO gauge layout to finish and that is the goal this year, alongside getting back on the exhibition circuit. I have a drawer full of model wagons to build, alongside Warships, Westerns and Hymeks to detail and sound chip in both O and OO gauge! So I have plenty to do and an exciting year of modelling planned.

Saturday, 24 December 2022

Happy Christmas one and all

 A happy Christmas to everyone!