Monday, 30 March 2020

LNER CCT in BR Blue

I hope everyone is safe in well, in what can only be described as trying times.  Personally, this first week of lockdown has been difficult for me, being separated from loved ones since last week.  However, in amongst all the doom and the endless days of being locked in, I have finally found some time to do some modelling.  I guess it is important to always find a positive, although the situation is clearly very serious.

So this week I finished off a LNER extra long CCT, in classic BR blue parcels livery.  This project can only be described as a complete and utter nightmare!  The building and painting stages were relatively straight forward and I was feeling very smug with the progress.  However, I managed to completely and utterly wreck the application of transfers (I thought I was beyond this!!).  After this, I had to spend a lot of time sorting out the silvering, trying to disguise it with more weathering.  This lead to a large number of varnish coats being applied with various shades of sleeper grime or frame dirt added.  Anyhow, I currently live in a very dusty house, so the more coats you apply, the more dust you trap, which is of course exactly what happened.  Then when it was finished and I was putting the wheels in I dropped it and scratched the roof!

Finished CCT in BR blue.  It doesn't look too bad I guess.

Close up showing the excellent detail of the Parkside moulding.

Another close up showing the added handrails and detail.

The model is the Parkside kit, build with a few extras added, such as handrails.  I painted the wagon using Railmatch enamels applied from my airbrush.  The transfers are from Cambridge Custom Transfers.  I never seem to get these quite right and my applying of them was poor. So the verdict - I am glad it is finished.  The weathering is now too heavy for my tastes, but at least it is finished and runs.  The overall paint finish has to much dust trapped in it for my liking and the transfers still look a bit iffy.  It is one to re-visit maybe in a few years. However, I find once I have finished a wagon I forget about it, so maybe in a few months I will pick it up, put it in the track and think - this is not too bad!  I took some close images of the sides whilst taking a pick too, which really highlight the quality of wagon moulding by Parkside.  Overall a 6 out of 10 on this project for me, but another wagon finished and ready to go on the layout.

Sunday, 15 March 2020

East Grinstead Model Railway Exhibition

This week I have been exhibiting my layout Charlton at the East Grinstead model railway exhibition.  Give the country is in a state of hysteria about Coronvirus, visitor numbers were healthy.  There was a really good range of layouts at the show and I met and chatted with a lot of people.  Charlton performed faultlessly again and I am feeling pretty confident about how I put the layout together.  It is its fifth show with virtually no maintenance and it continues to operate really well, although I need to fix a couple of minor things.  However, Charlton is a fiddle yard to terminus.  This is great fun to operate at home for an hour or two, but in an exhibition hall it is a very tiring layout to operate.  Footfall in the exhibition tailed off in the later afternoons, so I had some time to shoot a few little videos.  One of the things I liked about operating the layout this weekend was I have finished the third passenger coach.  This means the run around loop doesn't work, as the train is too long.  So I now have another locomotive stabled in a siding to run onto the end of the train and pull it away.  Not really prototypical, but much more fun to operate.

I am now keen to be able to finish off a few of the other modelling projects and start planning a much bigger layout.  Fingers crossed that a house move later this year will be the last in a long line and I can start building something that I can keep permanently operational.  Until then, I have no further exhibitions to attend.  I plan to build a small layout (3ft x 1.5ft) just to keep me going and use this micro-layout as part of a bigger plan.....

Class 25 on a short parcels train.

A western bringing in the 3 coach passenger train.

A class 22 running around a branch freight.


Thanks to all at East Grinstead MRC who made this weekend so much fun!

Monday, 9 March 2020

Hornby BR Blue Parcels Passenger Brake C

Sometimes life just gets in the way a little and any shape or form of modelling has ground to a rather unimpressive halt.  I had plans at new year to finish quite a few projects, but little headway has been made!  Fortunately, nothing stressful or negative has happened, it is just life has been too busy over the last couple of months leaving virtually zero time for modelling.  However, today I fired up the airbrush for the first time in an age.  There were a couple of wagons pretty much finished that needed a blast of varnish plus quite a few other wagons are nearing completion which need a bit of tidying up here and there.  I have an exhibition coming up this week at East Grinsted, so I was hoping to get a few things finished for then, but I have run out of time.

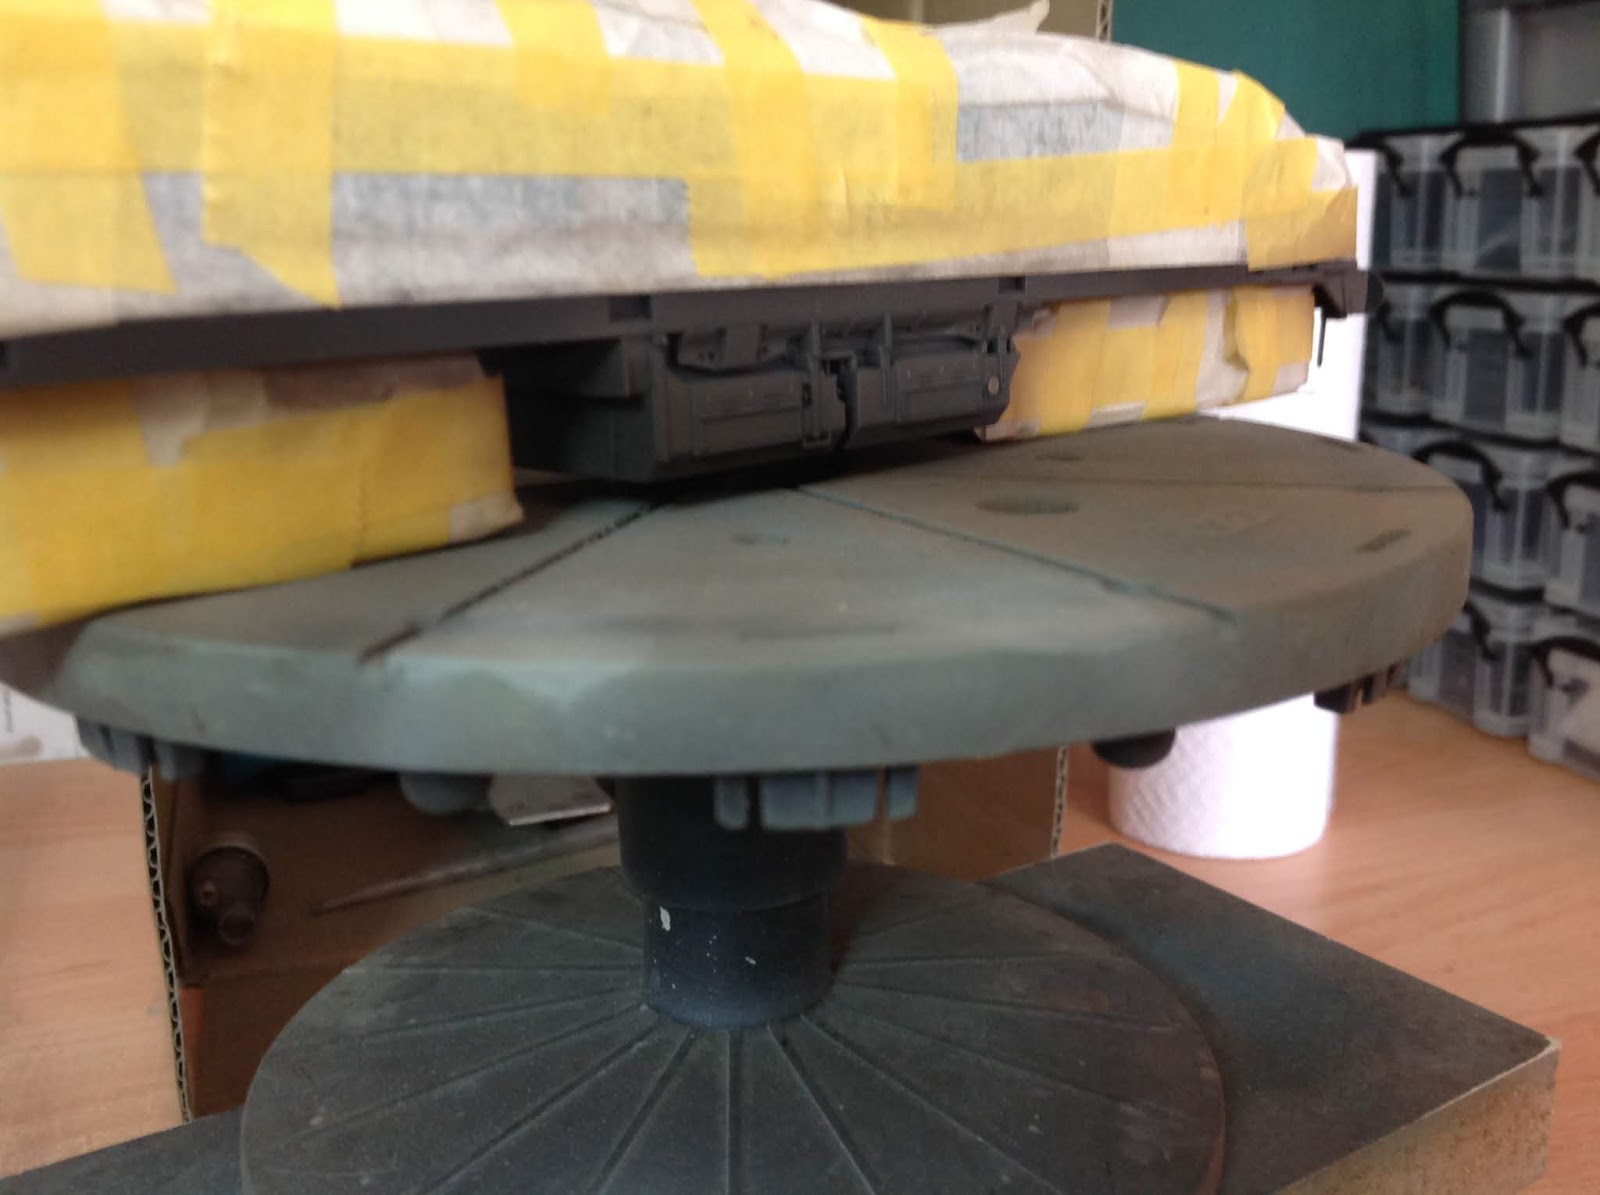
Progress so far on the faded and chipped bodywork - taken in awful light!

Anyhow, pictured above is a Hornby BY wagon, called a passenger brake van C by Hornby.  I had forgotten I had purchased this many years ago and found it a few months back whilst looking through the boxes of projects I have not yet got around to. I decided to have a really good go at doing some chipped and faded bodywork on this.  So far this has been treated to some white paint stippled on from a paintbrush, with some removal via a cotton bud with white spirit. The wagon has had an all over wash of grime, before some work with the airbrush using faded BR blue and weathered black.  There is a little weathering to go, but it is starting to shape up.  Hopefully I can get this one finished soon.

Sunday, 26 January 2020

Some wagons rolling on

So over the last couple of weeks I have been working away on a few modelling projects.  These are all ticking on, but nothing seems to be finished.  I made a royal mess of some transfers on a LNER CCT and and ling wagon, so I am currently trying to sort that out.  In the meantime I have finished just one other wagon, an ECC wagon.  It is the Bachmann offering and it is about all there is out there.  The underframe moulding is pretty coarse and chunky, but for expediency I have finished off about four of these now for the layout.  I think that even a poor wagon can be made more presentable with a little bit of weathering and work.  So with this one I picked out some underframe details, just to add a bit of life to the wagon.  All painting was done via the airbrush using Railmatch enamels.  I need some flat tarpaulins for these wagons as per the Meeth works, but it looks like I am going to have to go done the route of making them myself.  So some experimentation coming up....

Another ECC wagon for the layout - now to tackle tarpaulins.....

Another build that has progressing recently is the Herring wagon.  This is the Cambrian kit and I found it a bit confusing to get the underframe sorted out on this.  I spent quite a long time procrastinating about it, but last night managed to get it finally sorted.  It needs a little tidying up here and there, but can be washed ready for painting next weekend.  I currently have another herring wagon, a walrus and an SR 40t hopper to build, alongside a 13T open wagon in 0 gauge.  These kits have been hanging around a while so I am keen to get these finished and then start a new micro layout.  Further updates to follow!

Finished Herring wagon ready for painting (bar a little tidying up).

Saturday, 11 January 2020

BR Mk1 CK coach with lights

This week I managed to finish off the BR MK1 CK coach lighting and detailing.  This is third coach finished for the Charlton layout.  The lighting is the Express Models lighting kit, designed to work off DCC.  It is a relatively simple fix to get this into the coach, requiring the cutting down of the internal partitions.  

Finished coach with the lights on.

The effect in the dark is realistic and adds a great dimension to running the layout.

The coach was taken apart and the glazing removed.  The roof, coach sides, chassis/ends and bogies were all detailed individually.  A three link coupling was added to one end of the coach.  Then the body and sides were given an overall weathering wash applied with a paintbrush, with the majority of the wash brushed off.  The sides, roof and chassis were then weathered using an airbrush, with various shades of roof dirt, weathered black, sleeper grime, frame dirt, rust and white added.  The interior moulding was cut down and the seats were painted red, with a handful of passengers added.

Coach taken apart for detailing.

Three link coupling added at one end.

The painted interior.

When this was all complete, the glazing was glued back onto the coach sides and the roof/coach sides joined together.  A small piece of plastic rod was glued to the join between the roof and coach sides and any holes filled with glue and glaze.  This was then painted black in an effort to stop light bleed.  The coach was reassembled with the lighting unit in place.  This was a bit of a tight squeeze.  The pick ups were added to one bogie and the connecting wires to the pick ups soldered on, once the bogies had been reattached.  I drill a small hole in the bogie to feed the wires from the coach to the pick ups.

Pick ups glued onto the bogie.  Note the hole drilled in the bogie to pass the pick up wires through.

The wires from the lighting unit trailing out of the coach.

Overall I am pretty happy with this coach.  There is a tiny bit of light bleed which is really annoying - I either missed it with the paint or the tight squeeze has forced the joint a little.  Either way, I cannot face taking the whole coach apart and it is only on one side, so I am going to live with it for now.  It is not too noticeable but maybe in a few weeks I will take it back apart.

The interior and the passengers visible.

So this is now three coaches with internal lighting and detailing for Charlton.  The three coach train is too long for the run around loop at Charlton, so it will necessitate some interesting manoeuvres, with a locomotive stabled in the siding.  I am doing a show at East Grinsted in March - so I look forward to running this coach then.  I might even get the BSK done in the meantime as well.  I am currently looking at developing the locomotive fleet further and have a Heljan Hymek and Bachmann Class 43 to get on with detailing, so there are plenty of projects to keep me busy.

Tuesday, 31 December 2019

Class 47 BR blue with DCC sound

I hope everyone has had a great Christmas and is looking forward to a fun filled new year.  With a couple of free days during the festivities I have had some time to get on with some modelling - the airbrush is up and running and I am looking to finish off some projects that have been hanging around in the paint boxes.  In the meantime I thought I would produce a better update on the recently finished class 47.

The finished class 47 shunting at Charlton station.

The class 47 running light out of Charlton.

Another view of the completed loco - ready to head back to Barnstaple.

The model is the first Bachmann offering with a 21 pin DCC socket.  I purchased this locomotive on special offer from Hattons, about 10 years ago for the princely sum of £50.  It has sat around in its box since then.  I have always meant to make on a start on this locomotive, but never got around to it!  Anyhow the model was finally taken apart this year.  The glazing and cab were removed from the body and the bogie frames from the chassis.  All the details were added to the bufferbeam and then everything was masked off ready for spraying.  With all my detailing projects I start with an all over body wash on the body shell - a mix of sleeper grime and weathered black.  This is mainly brushed off, before spraying some different mixes of weathered BR blue over the body, intermixed with some light weathering using sleeper grime, frame dirt and weathered black. The grills had weathered black sprayed into them and the roof treated to a healthy dose of roof dirt.

The body wash applied, with parts of the wash removed.  This was taken part way through the process.

The body shell with streaks of faded blue, sleeper grime and weathered black applied.

 The body shells with roof dirt and weathered black sprayed into the grills.

The chassis and bogies were also sprayed with various shades of weathered black, frame dirt, sleeper grime, brake dust and matt white.  When all this had been completed the body was reassembled and reglazed.

Chassis masked off and with the first coat of weathering applied.

The bogie frames with brake dust, weathered black, and frame dirt added.

The chassis with the fuel tanks having sprayed with sleeper grime, frame dirt and weathered black.

The sound decoder is a Loksound v 4.0, fitted with Howes sound.  I must say, this is an absolute belter.  As soon as it was fitted I was delighted with the sound.  There is plenty of room inside the body shell for a speaker, so I could fit my speaker of choice; a Road and Rails double Iphone speaker.  The sound quality on these speakers is fantastic and it sounds like the real deal.

The decoder with the double Iphone speaker soldered up.

All fitted and ready for reassembly.

The locomotive was then reassembled and tested.  Despite sitting in a box for 10 years it runs like a dream.  I am very happy with how this one turned out.  I ran it for the first time at the Brighton exhibition a few weeks and it ran faultlessly.  Whilst not strictly common for the Tarka line in the 1970s, a little bit of modellers licence can be applied, they were common in Exeter St Davids from the 1970s onwards, so why not have one trundling up to Torrington or Ilfracombe!

Class 47 running into Charlton.

Class 47 heading back to Barnstaple with a short train.

Sunday, 22 December 2019

Another Milk Tanker - and Merry Christmas

Another few weeks seem to have flown past.  The airbrush has been firmly packed away and the partially built models have been gathering dust on the work bench.  I have had to work away for several weeks, which really disrupts the rhythm of modelling and life in general.  However, with Christmas now here, I have managed to gain some days for uninterrupted modelling over the festive period.  This is virtually unheard of and is something I am really looking forward too.

Finished milk tanker.  As per previous posts it is not the best model there is, but it is about all there is!

Anyhow, prior to travelling away I did get another milk tanker finished off.  This is the third milk tank I have finished; overall I am going for a train of 5 milk tankers.  I am planning to build a small 00 gauge layout next year, a small 3ft box to act as a test track, although it will have a small goods shed with it, with milk loading facilities.  I am gathering some buildings for this and hope to start building in earnest early next year.  Let's see how this progresses next year.

Another shot of the wagon after some shunting.

I have lots of small projects almost finished, so I hope to be able to finish some these off over the break.  In the mean time I wish everyone a very merry Christmas.