Friday, 29 June 2012

Georgeham platform light

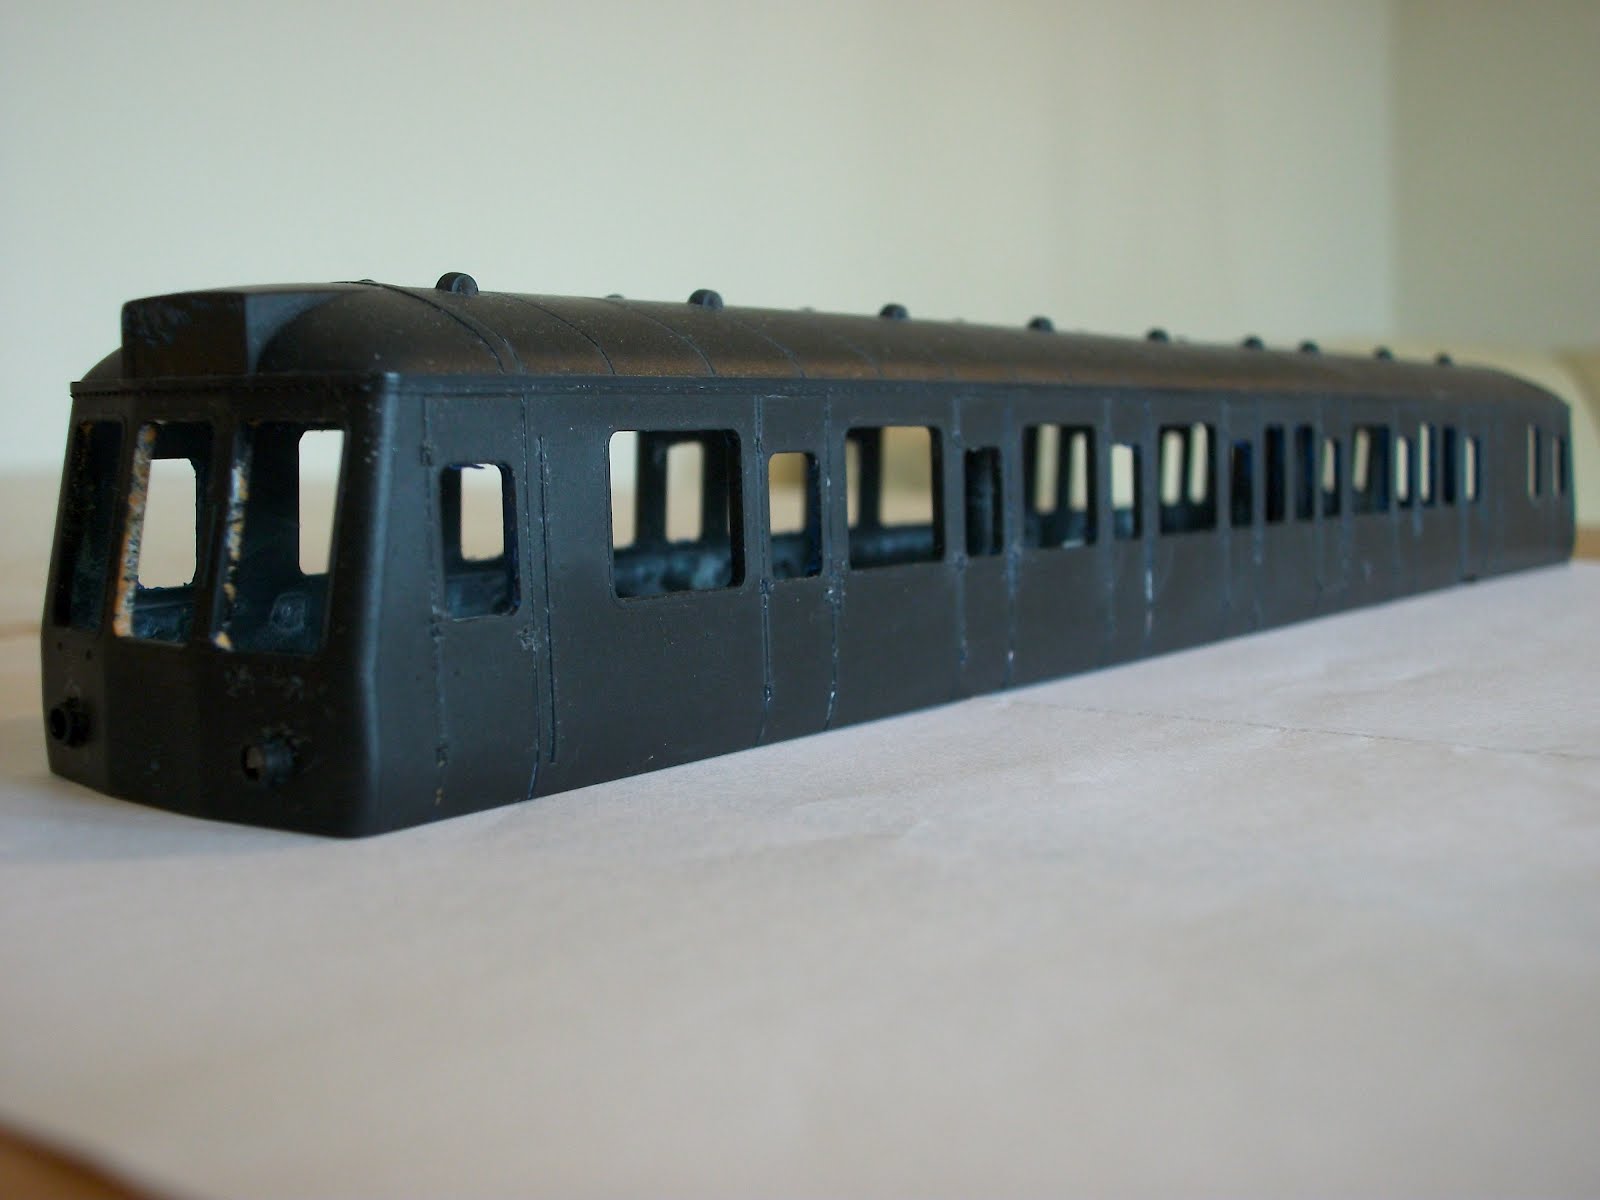
Well at last an evening at home transpired to allow me to do some modelling. Whilst recently surveying in Ireland and also across Exmoor I decided to finish off two jobs. The first was the ill fitting class 121 body, due to the express models lighting kit. The offending lighting unit was cut off, cut down using a dremmel and resoldered together. Several attempts were made before it was successfully resoldered together. However, it all now fits happily together and hopefully looks the part.

In summary and with this project now definitely finished, it should be stated that the running qualities of the hornby motors on this class 121 are awful!! I have the second one waiting for a repaint and fiddled about with decoders tonight between the two class 121 motor units. Suffice to say, little improvement was made between either chassis on either DCC or DC control. A quick internet search has revealed similar issues for others. Next time I am going to replace the motor. If anyone has a suggested replacement motor power unit I would be delighted to hear from you...

Evening Exeter bound DMU

The second quick job was to rig up the platform light. This was simply connected to a little square battery and hey presto it all works fine. In the fullness of time I am going to put a proper battery terminal and switch in.

Class 121 with ill fitting body shell cured

Life is very busy at the moment, but this leaves little time for any modelling. Updates for the next month or so will be sporadic at best.

Class 121 entering Georgeham halt

Tuesday, 5 June 2012

Georgeham nearly finished

Tonight I dragged the Georgeham test track into the lounge to finish off some of the detailing. Quick and easy detailing including topping up the static grass in places, resetting the lamp post and checking all is working with the a battery (it is yet to be wired up) and finally adding a name board for the platform.


Class 25 pulling into Georegham

The name board was easily made from a home printer, mounted on some card and glued onto a cocktail stick, coloured black with a permanant marker. Easy and quick and looks ok to boot!! A quick evening of modelling in an otherwise hectic work schedule!


Only hauling a solitary brakevan


That's it for Georgeham then, the lamp will be wired to a battery and switch and then that is it. Not yet sure what I am going to do with it.....it has been a good test bed for building a platform and using static grass for the first time.....but what to do with it now


New name board

Sunday, 27 May 2012

Future projects - class 37, a 121 and life getting in the way!

Little progress on anything related to modelling this month, only one blog post reflects a lack of any activity. In short, life has all been work and this looks set to continue into the near future. However, significantly buoyed by my recent class 121 project and class 25 repaint, I have stripped a couple more models ready for repainting. Both were submerged in a bath of superstrip. Interestingly, the superstrip removed any details glued on the old lima body shell with superglue, but not araldite. Anyhow, I guess both these shells will be waiting around a while before any further happens, but when I next get started on a modelling session they are ready to go.

The class 121 is the Hornby model, orignally in NSE livery, but now stripped ready for a repaint into a slightly faded BR blue and yellow scheme. The glazing will also be redone with a flushglaze pack and I intend to add a lot of smaller detailing parts.

Class 121 ready for detailing

The class 37 is an old lima model favourite. It certainly reminds of teenage days and a desire to get into 'proper modelling'. This one will also be repainted into a faded BR blue livery, building on the lessons I learnt on my previous class 25 repaint. I have a variety of grills and body detailing parts to add.

Lima class 37 stripped

Anyhow, I guess these and all my other projects will have to wait a while. Hopefully I will be back to modelling by August, but until then I think progress and updates will be limited.

Monday, 7 May 2012

Georgeham micro-layout and an ECC wagon

Georgeham is now on its final leg to completion. Having taken a few photographs of it recently, I thought the backscene looked a little bare. I have a added a sycamore tree and a low relief barn, built from scraps of corrugated iron plasticard. This has been given some gentle green, rust and weathered black coats and now addes some depth to the field for the Georgeham shelter/platform.

The low relief barn is shown to good effect, working as the back drop for the platform.

Inspiration has been lacking a bit recently, so not to much has been achieved on the modelling front. The one small project that has got completed in addition to the low relief barn is the ECC china clay wagon coupling conversion. A couple of white coats and some matt varnish finished the wagon off, after hacking away a lot of the wagon chassis to get the coupling in.


I have decided that I will spend one more day on Georgeham. The tunnel needs a bit of work and the fence needs finishing at the front. Also the lamp looks rubbish and needs sorting out and having a switch put in. This and a few other odds and sods need seeing to, but none of them are big efforts. In general it is close to completion. Questions is, what to do with it once finished? I have little room for it, so it might get sold/given away to make room for work starting on Pottington Quay in earnest.

And another item of rolling stock ready for service on my layouts, the second ECC wagon is ready to go

Sunday, 29 April 2012

More on Georgeham Halt

A few more pictures of the developing scene at Georgeham Halt. The static grassing has been completed. There is a slightly 'hairy' tunnel entrance and hedges have been added behind the Halt. A halt name-board is required, as are a couple of trees behind the halt and a building of some form at the rear of the car park. I think that a couple of additions in the distance behind the halt will help force the perspective. All in all its getting there. I think it is starting to look like an abandoned branchline in the early 1980s, which somehow BR has been forced to keep open. If only that had happened in real life to North Devon line from Barnstaple to Ilfracombe....

Grubby class 25 at Georgeham halt


A very grassy tunnel mouth!

Class 25 running light through Georgeham, maybe BR are checking the viability of reopening the branch??....


Note the mini in the car park


Saturday, 28 April 2012

Odds and ends

I decided to get a wriggle on with Georgeham this week. Overall I am losing enthusiam for the project. The scene is too small to get real depth on the photographs. It is serving its purpose as a DCC test track and also to experiment with static grass and in the future scenic water. However, with such limited operating potential, I want to get the layout finished and then crack on with Pottington Quay, with a few new skills learnt on the building of Georgeham.

Derelict signal box.

So these photographs are a few odds and ends of the developing scene at Georgeham. I put a light behind the platform (wonky of course, well this is Devon) and have also added some ivy to the signal box and put the static grass at the front of the layout. The cocktail sticks denote where the fence posts will be.

The static grass at the front of the layout - the rushes will be trimmed.

First of all I put a layer of flock down on the baseboard/plaster bandage, after painting the paster/board dark earth. Then I experimented with some static grass. First I started with 2.5mm static grass, but think that the best results I have so far got are using 4.5mm and 6mm static grass. I am sure with a bit of practice I can get some good results on Pottington Quay.

View into the platform from behind the signal box.

There are a few hedges to add, a couple of trees and some static grass around the tunnel. However, I am hoping to finish it this weekend and then get the track laid on Pottington Quay. It is another good learning curve, but with such limited operating potential I would rather have my main layout as the test track.

Class 25 hauling a short goods train through Amberleigh- pretty please with this locomotive!

Sunday, 22 April 2012

Class 25 BR blues

Finished class 25

With working lights!!

Well, after a fantastic wedding last night and a raging hangover today - I finally got round to finishing the class 25. The final reassemble took ages to finish, not least because I could not get the lights to work when reassembled, probably a result of the hangover!!


The class 25 has been a project that has literally dragged on for months. A lack of transfers from modelmaster caused a delay, which meant the project lost momentum. The body shell was stripped of the Bachmann finish. The base layer of the livery was a mix of faded rail blue and normal rail blue. Over the top of this about 10 layers of weathering were applied, using lifecolour acryclic paints, being frame dirt, sleeper grime, track dirt and weathered black. Final varnishing used Railmatch matt varnish thinned with Humbrol thinners.


Overall I am pretty happy with this one. There are one or two things I would do differently. I would definitely added etched windscreen wipers and take more care with the masking. The biggest issue I had was using some 10 year old modelmaster transfers for the double arrows, which did not adhere properly. I did consider replacing them, but in the end tried to blend them in with the weathering. There is also a little light bleed around the headlights, which needs to be blocked out with some black paint. I also think the glazing is a little weak, but I am not sure if someone produces a replacement option. However, these minor points aside, the overall effect I am happy with - and it is all a learning process.


The weathering is loosely based on a photograph of a class 25 at Lapford station, in 1977. Class 25s were regular traction on the southern branch lines in the late 1970s and early 1980s. In general they were kept in a terrible state and many of the photographs show them in a faded, grimey condition. This is the first of several I want to model, all will be turned out in a similar state!!


On a slight tanget, I also wanted to finish the whale wagon off this weekend. Looking at modelmaster's website, the transfers for the whale will not be ready for at least another couple of months. So the whale and the tunny wagon will remain in the modelling boxes waiting for transfers and finishing.